You’re committed to giving your patients top quality care, including offering implant services in your practice.
Even though you do everything in your power to make them feel comfortable and at ease, there is one thing that every patient loathes – impression taking.
Add the uncertainty of restoring their implant, and you have a situation that you want to make sure you are comfortable with.
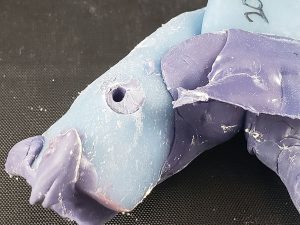
When it comes to physical implant impressions, there are two main types, open tray and closed tray impressions. Additionally, you can take digital implant impressions.
In this article, we will discuss all three options, so that you’ll be better equipped to make the best choice for the specific case. And, you’ll be comfortable with the process.

Open Tray Impressions
Open tray impressions often create anxiety for dentists.
That’s because there’s always the potential of locking an impression in a patient’s mouth. However, proper planning and case evaluation can alleviate that fear.
Open tray impressions are the most accurate when you’re dealing with multiple implants. They’re also the best choice for when the implant’s alignment isn’t parallel to the neighboring teeth or other implants.
You should also consider the amount of clearance in the mouth, especially in the posterior. Make sure that, once you get an impression in there, you still have room to unscrew the screw.
After cutting holes in your impression tray, you can simplify the open-tray process by covering the holes in your impression tray with wax. That will help verify that you will have access to the screws once you try them in.
After you screw the impression post into the implant, and before you take the impression, you should always confirm that the post is fully seated by taking a periapical X-ray (PA), which shows the entire length of the tooth, from crown to root.
Closed Tray Impressions
Closed tray impressions are often easiest for dentists chairside.
Typically, they require less preparation and mimic your everyday impression.
First you seat the impression post — verify the seating with a PA — take the impression and remove it from the mouth. Look at the impression to ensure that the specific architecture was captured clearly. Then, you can remove the impression post from the mouth, and send the case to the lab.
Type of Impression Post
Once you select either the open-tray or closed-tray technique, you’ll need to choose the proper impression post.
An open-tray impression post is usually designed with undercuts in it, so that it will lock into the impression.
A closed-tray impression post will have architecture and landmarks, such as grooves and flat sides, to make it easy for the lab to place the post back in the impression once it’s attached to a lab analog.
It is a best practice to not use an open-tray post with the closed-tray technique, and vice versa.
IOS Impressions
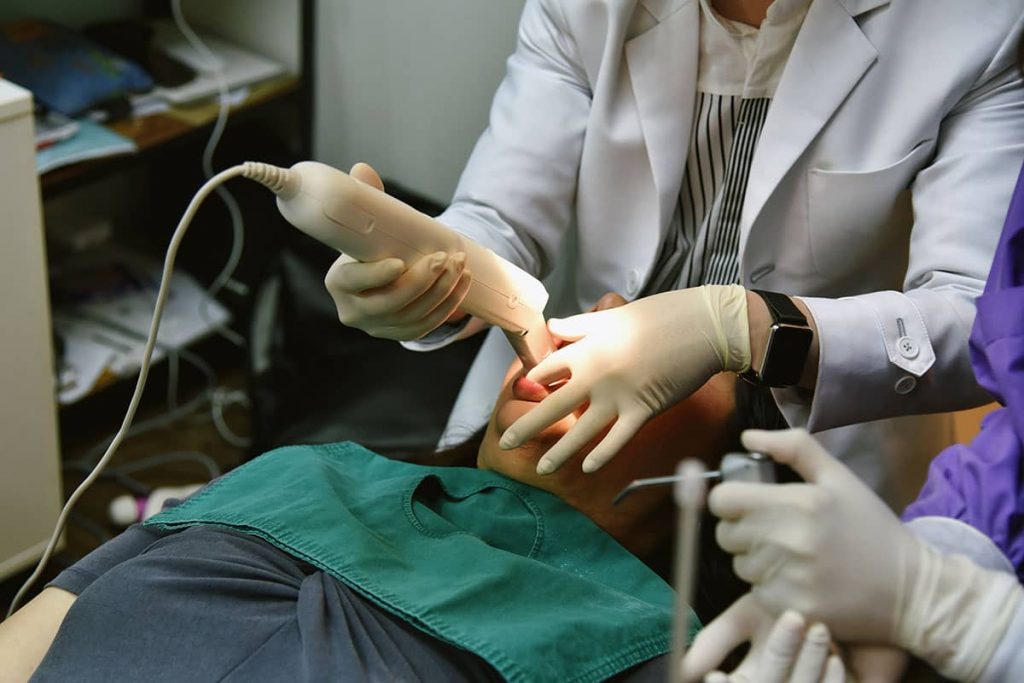
IOS impressions are increasing in popularity, especially for implant restorative work.
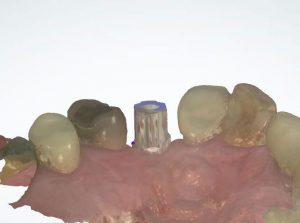
These digital scans require a different impression post called a scan body. It functions similar to a regular impression post, and has specific architecture that is recognized in dental CAD software, which allows the software to produce a digital model with the proper location and orientation of the implant.
Each IOS system is different. But, no matter which one you use, it’s always important to make sure you take a good scan of the tissue emergence profile and a clear scan of the scan body, showing its unique architecture and any markings on it.
One thing to understand is that the manufacturer of the scan body you use for your digital impression locks your lab into a specific workflow.
Be sure to contact your lab prior to scanning, and make sure they can work with your system’s scan body.
Don’t Forget These Tips
No matter which option you choose, always remember to:
- Make sure you use the proper impression post for the technique you choose;
- fully seat the impression post in the implant and verify with a PA; and
- consult with your lab if you have any questions.
Happy Patients = Happy Dentists
Remember, the more information you provide to our lab with the impression, the more efficiently we can work so you can get your patient on their way without extra delay.
We Know Our Stuff
We are an experienced implant team with over 150 years of combined technical experience. We have seen pretty much every type of case you can imagine.
Our implant experts are ready to consult with you on a single-unit screw-retained implant restoration all the way to a full mouth rehabilitation.
Our Lab Is Your Partner
We know you need a strong relationship with your lab to help your practice run efficiently. And if we see an issue, we will call you right away. You can count on the First Choice Dental Lab team!
Why Choose Us?
Your goal is to make patients happy. Our lab’s goal is to make you and your practice successful. Together, we can achieve both.
***
About First Choice Dental Lab®
We’re a full service dental lab with locations in Downers Grove, Il. & Wauwatosa, Wi.
We manufacture & customize quality dental restorations for general dentists. We create smiles based on your needs and budget. We’re here to help you give your patients a reason to smile!


