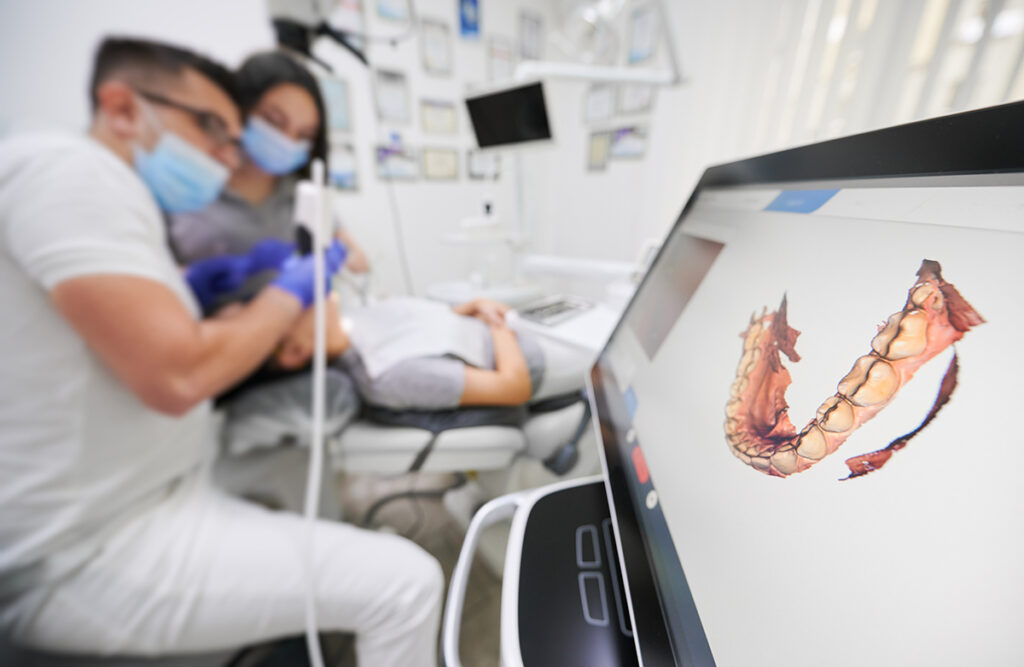
Using intraoral scanners (IOS) for implant cases is one of the most underutilized applications we see with dentist who own them.
Often, users are a little unsure about how to capture the implant position so a digital model can be created to design the case.
While it’s easy to get wrapped in the complexities of a tough implant case, it’s not as difficult as you might think.
In reality, it’s often easier than regular crown and bridge scanning.
With no margin to reveal or capture with your scanner, implant scanning doesn’t need to be intimidating.
The two main pieces of data you need to capture with your intraoral scanner are the emergence profile from the implant, and the scan body.
Here’s what you’ll want to keep in mind.
Capturing the Scan Body with Your Intraoral Scanner
So, what exactly is a scan body?
A scan body is the replacement for your traditional impression post, which allows your lab’s software to locate the position and orientation of the implant in the mouth.
Scan bodies are designed to have specific geometry relating to the position and depth of your patient’s implant.
Once you’ve completed the scan body, your lab’s software virtually places the implant in the digital model of the mouth, by matching it to the digital image of the scan body.
Often, these have flat sides, which help align these two scans.
When creating the scan body, it’s important to keep the field dry. This helps provide a crisp capture of the geometry and height.
Take a look at your scan, make sure it replicates the scan body you have and its unique geometries.
Scan bodies act just like the traditional impression post; each are unique to the implant type and platform size.
The other key piece of information you’ll need to know is that the maker of the scan body determines the workflow for your dental lab.
This means if you have a Straumann implant, and you want your lab to fabricate your case using authentic Straumann parts, you need to make sure you have the authentic Straumann scan body.
Of course, there are third-party manufacturers for impression posts, abutments, analogs, etc., and each have their own scan bodies.
Now, whether it’s an authentic name-brand part or a third-party device, once you send your scan, your dental lab is locked into the matching workflow.
As a result, it’s good practice to communicate to your lab which type of scan body you used in your order notes.
This ensures your lab can properly identify the scan body and use it in their design software.
The more you communicate, the better results you’ll achieve.
Emergence Profile
The second key piece of information to capture when scanning for implants is the emergence profile from the implant.
Though each introaoral scanner system is a little different (in terms of terminology and how to activate the proper workflow), they all allow you to scan emergence profiles to submit to the lab.
Usually, this is accomplished by scanning the entire working arch before removing the healing abutment.
Next, the scan is paused, while you utilize the trim/snip/cut tool to remove the healing abutment from the scan.
Then, you remove the healing abutment and immediately scan the emergence area before the tissue has a chance to collapse.
You can then complete the scan workflow as recommended by your intraoral scanner system.
Accurately capturing this data allows your lab to design the abutment or screw-retained crown with the proper contour to support the soft tissue.
The Takeaways
Intraoral scanners are incredible pieces of technology, speeding up your workflow and increasing your practice’s efficiency.
Even if they seem intimidating at first, with a little practice, you’ll get the hang of it in no time.
Even with tough implant cases, intraoral scanners are more than up to the task.
All it takes is a little preparation, and good communication with your dental lab.
At First Choice, we work with all major implant companies in both digital and physical impressions.
If you have questions regarding workflows or which scan body you need, we’re here to help you make the right selection for you and your patients.
After all, we’re here to help you make your patients smile!
—
Wondering how to scan with your IOS?
Here are some resources that may help:
TRIOS Implant Scanning, Step-by-Step
Need a mouthguard? We can help!
From mouthguard to night guards, we’re focused on protecting your smile.
At First Choice Dental Lab, we create both custom-made Pro-Form mouthguards and regular custom-fit mouthguards. Both provide excellent comfort and fit while also maintaining shape and strength.
Tell your dentist to give us a try today, and we’ll help give you a reason to smile!
Need a referral for a dentist? Contact us here.


